FastAPI and Scikit-Learn: Easily Deploy Models
Introduction
Here we explore how to easily deploy your scikit-learn model as an API endpoint using the FastAPI framework. In order to follow this post, you should be familiar with docker, scikit-learn, and the basics of APIs.
All code and jupyter notebooks for this post are available at https://github.com/nickc1/sklearn_fastapi
Just do it
If you just want to get going, all you need to do is:
git clone https://github.com/nickc1/sklearn_fastapi.git
cd sklearn_fastapi
docker build -t myapi .
docker run -d --name myapicontainer -p 80:80 myapi
Now you can make post requests to http://localhost/predict. A more detailed description is below.
Resources
Here are some helpful resources that go much more in depth than we will go into here:
Alright, lets get started!
Create the folder structure
The correct folder structure is outlined in the github repo. You can always clone it and go from there. It takes the form of:
.
├── model
│   └── model_building.ipynb
│   └── api_testing.ipynb
│   └── model_1.joblib
├── app
│   └── main.py
└── Dockerfile
model/model_building.ipynb- Where we train and save the model.model/api_testing.ipynb- Where we test the endpoint after deploying.model/model_1.joblib- The saved model.app/main.py- The API.Dockerfile- Docker definition.
Build the Model
The notebook for this section is here
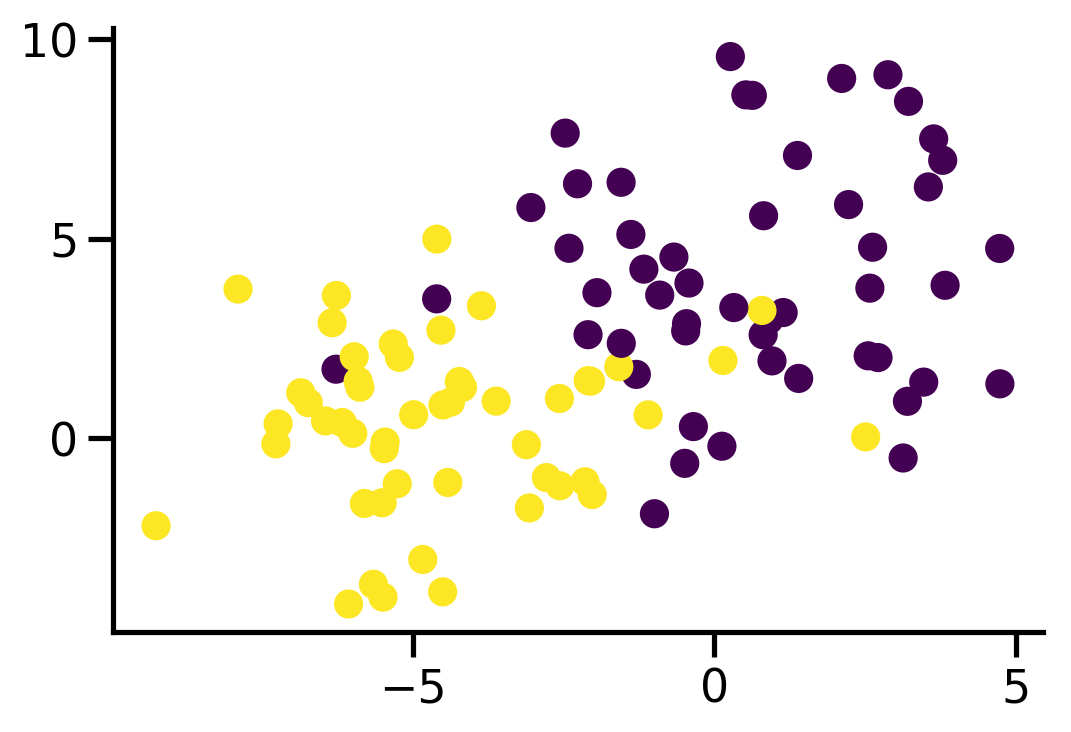
For illustrative purposes we will train a logistic regression model. First we create the data with:
X, y = make_blobs(n_samples=100, n_features=2, centers=2,
                  random_state=3, cluster_std=2.5)

fig, ax = plt.subplots(figsize=(8, 6))
ax.scatter(X[:,0], X[:,1], c=y)
sns.despine()
Next we train a model and test its accuracy:
sz = 80
Xtrain, ytrain = X[0:sz], y[0:sz]
Xtest, ytest = X[sz:], y[sz:]

clf = LogisticRegression(solver='lbfgs').fit(Xtrain, ytrain)

clf.score(Xtest, ytest)
>>> 0.95
Next we need to save the model. We will do this with joblib.
from joblib import dump
dump(clf, 'model_1.joblib')
Now we have a trained model that we can now deploy as an endpoint.
Building the API
First we need to create the dockerfile.
FROM tiangolo/uvicorn-gunicorn-fastapi:python3.7

RUN pip install joblib scikit-learn

COPY ./model/model_1.joblib /model/
COPY ./app /app
Tiangolo has provided extremely convenient and performant dockerfiles for deployment. We need to pip install two additional modles for loading and running the model – joblib and scikit-learn. Next we copy our project into the container. The /model folder contains our trained model and the /app folder contains our API.
Next we create the api file. Below is the entire file.
from fastapi import FastAPI
from joblib import load
from pydantic import  BaseModel


# load model
clf = load('/model/model_1.joblib')

def get_prediction(param1, param2):

    x = [[param1, param2]]

    y = clf.predict(x)[0]  # just get single value
    prob = clf.predict_proba(x)[0].tolist()  # send to list for return

    return {'prediction': int(y), 'probability': prob}


# initiate API
app = FastAPI()


# define model for post request.
class ModelParams(BaseModel):
    param1: float
    param2: float


@app.post("/predict")
def predict(params: ModelParams):

    pred = get_prediction(params.param1, params.param2)

    return pred
Lets step through this. The first couple lines are the imports. Next we load our model. clf now has the trained scikit-learn class that we created in the notebook. It has all of the same methods. We call the predict and predict_proba methods in the get_prediction funtion. Separating this out from the enpoint makes it easier to test. Notice we also convert the result from the predict_proba method to a list.
The rest of the file is all FastAPI. First we initiate the API, then we define the model for our post request. This ensures the proper datatypes get passed to our function. For example, if you tried to post cat for param1, it would return an error response.
Next we define the endpoint at /predict. This will allow us to make post requests to http://localhost/predict. All this function does is call the the get_prediction function and returns the result.
That’s it. Now we just build the docker image and we are good to go. You build the image with:
docker build -t myapi .
And run it:
docker run -d --name myapicontainer -p 80:80 myapi
And that’s it! You can now make post requests to http://localhost/predict. Let’s test a post request.
import requests

url = 'http://localhost/predict'
data = {'param1':0, 'param2': 0}

resp = requests.post(url, json=data)
print(resp.json())

>>> {'prediction': 0, 'probability': [0.5816, 0.4183]}
Enjoy your new model endpoints! As an added bonus, FastAPI also comes with preconfigured swagger documentation. You can find the documentation at http://localhost/docs and redoc at http://localhost/redoc.
If you are interested in seeing how to deploy this to something like https://mydomain.com/api, let me know!